Circus -A-Day Recap of Week 1
With 2011 well under way and our Circus-A-Day Project in full swing, we are playing catch up on the blog postings and sharing some of our daily insights into the creative process that is our daily lives. We hope you enjoy these little nuggets of honesty and information and welcome questions and comments! It is a long road ahead to December 31 and we invite you to join us for whatever parts of the journey you wish.
Day 1: Acrobat Necklace (K) & Paper Elephant Chain (M)
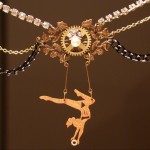 K’s first contribution to our steampunk circus was, of course, jewelry. I was inspired by the idea of trapeze artists and by the stash of vintage rhinestone chains in my workspace. I used our Cricut machine to cut out a large trapeze artist from shrink plastic, and I painted it with metallic rose-gold acrylic paint and stamped a design on the paint. I baked the plastic piece in the toaster oven to shrink it. I hung the plastic aerialist from a brass filigree using brass wire, and then decorated the brass filigree by using a gear from an old clock and an old earring post. The brass filigree was hung from a vintage rhinestone chain, and the gold and black chains were added by using jumprings to attach them to the rhinestone chain. You can’t tell from the photos, but the trapeze girl actually has a pretty good range of motion!
M started the year off slowly and used some leftover holiday wrapping paper (gold and copper paisley design, as M loves all things paisley) to make a chain of paper elephants. It took several drawing attempts and some internet research to get the appropriate dimensions, but eventually I made a single elephant template, folded the paper to the right dimension, and cut out the chain. It now decorates the top of my television.
Day 2: Doll Theater(K) & Lace Tutu for a T-Rex (M)
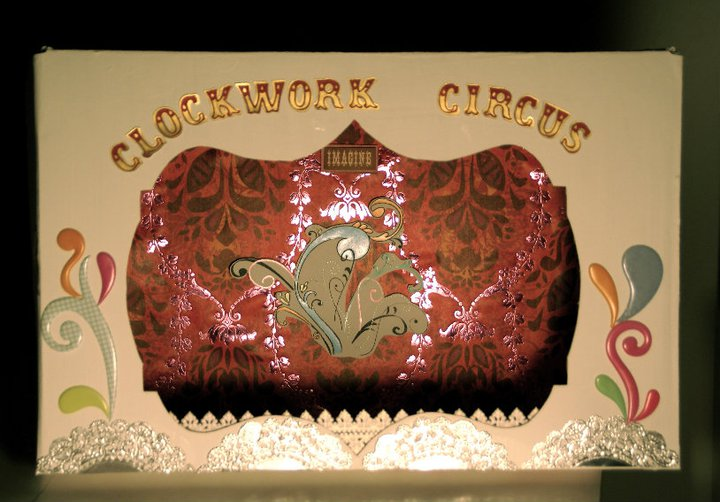 K bit off a bit more than she could chew with today’s project. But I procrastinated too long to complete all of the details. I started at 6 pm with an orange athletic shoe box. I painted the entire box, inside and out, with gesso, and I used a craft knife to cut the opening for the stage in the box top. The “Carousel” cartridge for the Cricut provided the lettering (although I had to do several runs before I got enough letters that weren’t damaged by the blade), and I glued paper to the inside of the box to “set the stage.” I have so many plans to modify this little circus theater in the future, including a row of working footlights using Christmas lights, and a chandelier, as well as some serious distressing and embellishing. And I’m very excited about the inhabitants we will create to populate this little world!
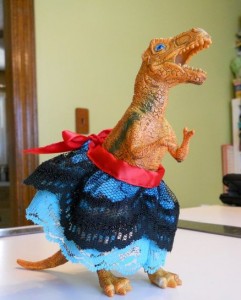 M started the day with the intent to make a stripey something with her long forgotten knitting needles, but as the day progressed and she began to run out of time she panicked and decided to make something much simpler. I used a handful of lace scraps I couldn’t bear to throw away to stitch up a layered tutu for a doll, but as I do not own any dolls, I resorted to using my plastic T-Rex toy as a model. He didn’t complain and I think he actually felt quite fancy wearing it!
Day 3: Rediscovered Circus Billboard (K) & Gearaffe Drawing (M)
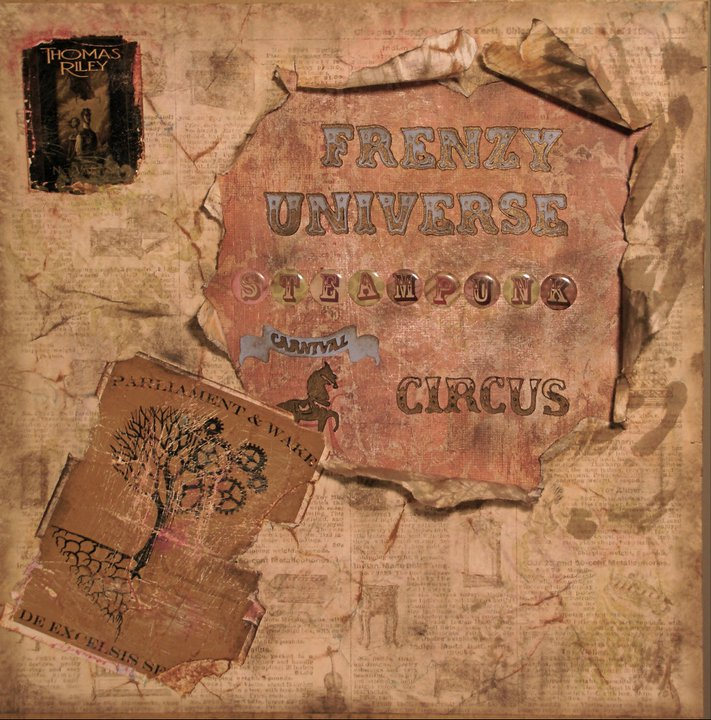 Today, K started with the idea of making a circus poster, but that seemed too shiny and new, so I imagined how a poster might look after it had been papered over and then “rediscovered.” With a little help from our friends (Parliament & Wake and “Thomas Riley” by Nick Valentino), and a lot of practice at distressing paper, I think I captured the look I was going for. I used letters cut out with the Cricut and marble stickers to create the lettering on a piece of textured scrapbooking paper. Then, I distressed a larger piece of scrapbooking paper with a vintage catalog motif by crumpling it up, moistening it, and smoothing it back out. Then, I used a damp paper towel to add distressing ink and pigment inks in several colors to the smoothed out paper, highlighting the ridges. I cut a central hole in the paper and ripped it away from that point so that it looked as if it had been peeled away. I distressed the Parliament and Wake postcard and the Thomas Riley bookmark by crumpling them, wetting them, sanding them, and adding inks. They were added to the collage by using Mod-Podge adhesive. The whole piece is mounted on a 12″ x 14″ piece of corrugated cardboard.
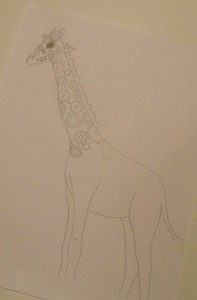 First, M loves giraffes. Second, she wanted to make a circus animal themed something. I drew a very basic giraffe outline and then decided to make it Steampunky by making its spots cog-like”¦. And thus the Gearaffe was born! It was time consuming to fill in all those gears, so it only got partially completed this day. Look for him to be incorporated in future projects (hopefully involving iron on foils)!
Day 4: Circus Freak Bracelet (K) & Sparkle Gem Headdress (M)
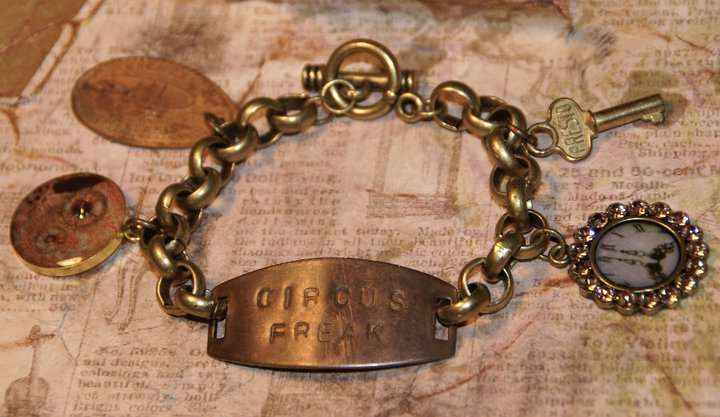 Today, I worked with my favorite medium again: jewelry! The charm bracelet is made from large-link brass chain with a toggle clasp. Four of these charms were already made, but they were just laying around the workbench, waiting to be put together. I used a metal stamp set and hammer to stamp the words “Circus Freak” into a brass centerpiece. The charms include a Frenzy Universe stamped penny, a resin charm I made awhile ago, a vintage skeleton key, and a crystallized charm collected from another bracelet.
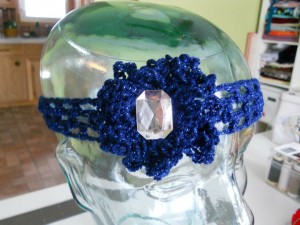 M was inspired by synchronized swimmers and acrobatic performs today and a desire to use up some of her yarn stash. I found the sparkly blue finger weight yarn in the bottom of a basket and felt it was just crying out to be a 20s flapper-style headband with a gaudy flower. Using double crochet stitch I formed the head band in three rows. To make the flower I used a basic single crochet circle stitch increasing each round for 4 rounds, then creating chain stitch “petals” of 7-9 stitches (alternating) into every other stitch. I topped the flower off with a faux gem pin I found to give it a little extra pizzazz.
Day 5: Circus Freak Collar Necklace (K)
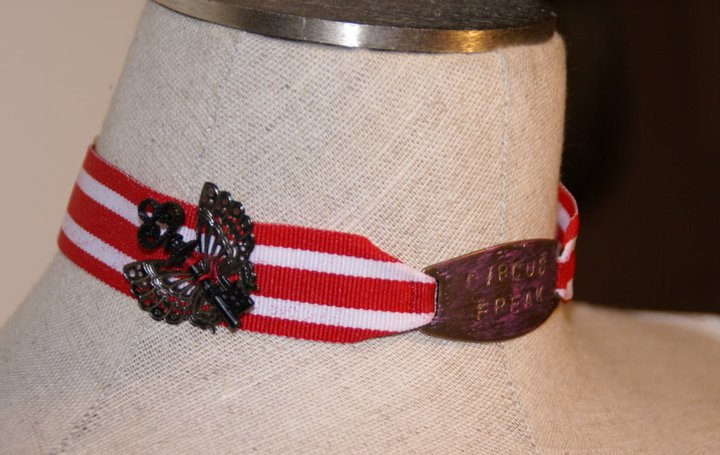
So yesterday’s project got me (K) to thinking about labels. I had made two of the stamped brass pieces that said “Circus Freak,” so I decided to go with the theme for another day. I thought about how most of us feel when labeled something like “freak,” so I used a stamp, ink, and embossing powder to add the phrase “there is more to me than you can see” to the grosgrain ribbon. I also faced some demons and actually did a bit of sewing on this one, to get the ribbon secured around the focal. I curved brass wire and hammered it flat to make a clasp. The ribbon ends were finished by using a ribbon crimp, and brass chains make the collar adjustable in length. The choker was barely finished when I started listing the things I want to change about this design, including moving the winged key forward, using black thread to sew on the key so that it is not as obvious, and making a better clasp.
M somewhat embarrassingly admits she has already fallen off the wagon of creativity and did not complete a project for today. I fear this is going to be a much more difficult undertaking than I originally believed. But I am sticking to it and will keep trying to create every day.
Day 6: Steampunk Lion Mask
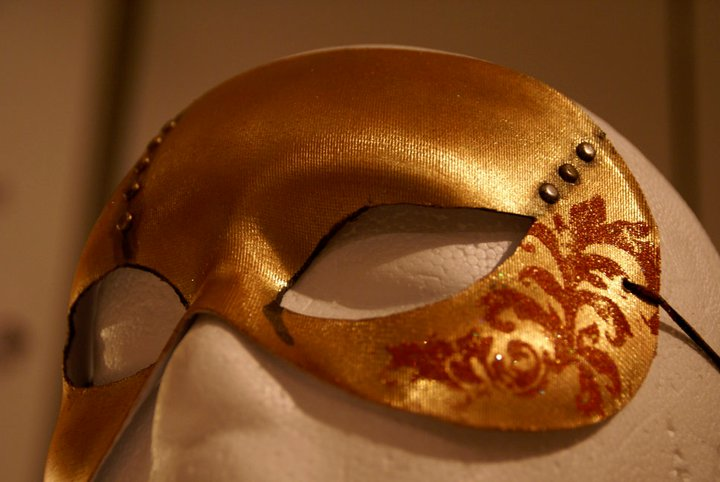 Today, M and K worked together to create elements for M’s lion costume, which goes with K’s ringmaster/lion tamer costume. I started with a gold fabric mask from the craft store. I distressed it by using a couple of different colors of metallic paint and some distressing ink. I used a stamp and embossing ink, plus some red/gold embossing powder to create the Rococo leaf design on the left cheekbone. I used an awl to create holes along the left temple and the right forehead and created the look of rivets by using multi-toned paper brads. Accents, such as the eye lines, were added with brown fabric paint. I think it’s a perfect addition to M’s tulle lion mane.
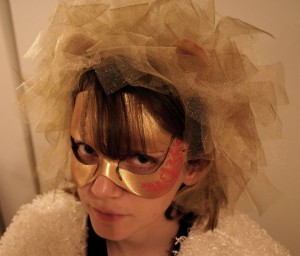 While K worked on the mask, I (M) made a tulle mane for the lion part of the costume. Although technically, as a female, I would be a lioness and thus would not need a mane I still really wanted one so I went for it! I created a base for the tulle using a strip of faux fur fabric approximately 2 inches wide and 10 inches long as that is the length of the plastic headband I was using as the form. I took 6 inch wide pieces of several different shades of tulle in cream, brown, and copper, layered them, and sewed them to either side of the fur strip. At the same time I sewed the small ears I made from the same faux fur with the tulle. Then I hot glued the fur strip to the headband. I used a Styrofoam display head to hold the headdress in an upright position while I cut each layer of tulle into approximately 2 inch strips stopping just shy of the seam on the faux fur. Each layer I staggered the strips from the previous layer to add fullness to the mane. Once all the pieces were cut, I crunched the strips in my hands to give them a messy look and increase the likelihood they would stand upright.
Day 7: Lion Tamer Hat, etc.
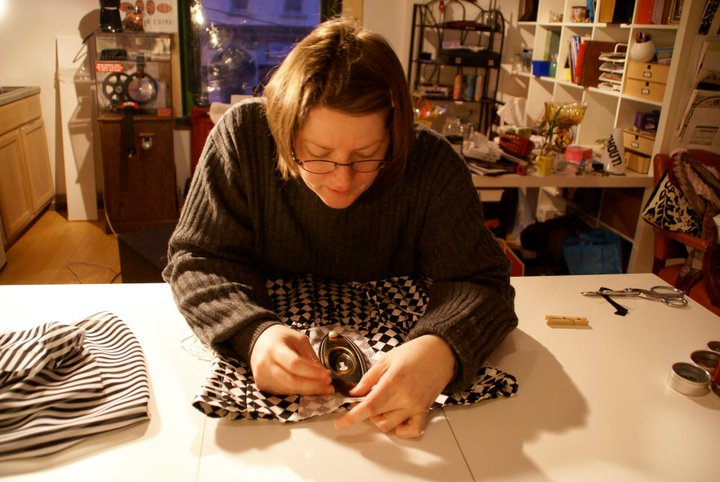 K: So, we had a hard time finishing anything today, because we were working on so many things. I stitched an old doorplate with keyhole to the front of a pair of corset-waisted bloomer pants for my lion-tamer costume. I also modded a mini top hat by removing a glued-on keyhole/escutcheon and adding the patch and feathers. Then, in the wee hours of the morning, we got giddy and started inventing an aerialist costume for M, which involved stuffing as much brightly-colored tulle into her corset skirt as we could. Check out our Facebook Page for the image.
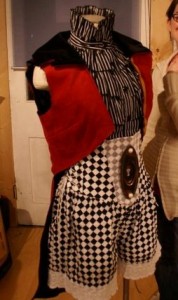 M: Today I worked on the sleeveless tailcoat I have been making for K’s lion-tamer costume. I finished up the lining and top stitched all the outer seams so they would lay flat as the suedecloth I used as the main fabric would not press flat with an iron. I also worked on a faux fur stole with tassel fringe to compliment my lion costume. However, the tassel fringe caused me some problems when turning the stole right side out and needed to be fixed by hand. It was getting late (or early in the A.M.) so we rigged up that crazy tulle and corset skirt concoction so we could feel good about something getting done.
K’s Insights from Week 1: My worst enemies in this endeavor are going to be overcoming my tendency to procrastinate and accepting that small, simple art projects count as “legitimate art.” I find myself waiting until all my other work is done, and it’s late at night, to begin working on my art project. These creative projects commonly take several hours to complete, and starting earlier in the day and sticking to a simple design will really help me stay committed and successful for 365 days.
M’s Insights from Week 1: I really need to stop creating out of panic and work on making items that allow me to stretch my skills instead of only using the skills I know I have. I am alright with the items being simple, I now need to be willing to fail. I also need to overcome my tendency to chafe under a strict regimen and rather see this as giving myself permission to do something fun and creative every day.
Be sure to ‘Like’ us on Facebook to get to see the photos each day as we post them! Also get the Weekly Project Challenge that asks you to stretch YOUR creativity and possibly win fabulous prizes!




February 6th, 2011 at 3:55 am
Really appreciate you sharing this blog post.Really looking forward to read more. Keep writing.